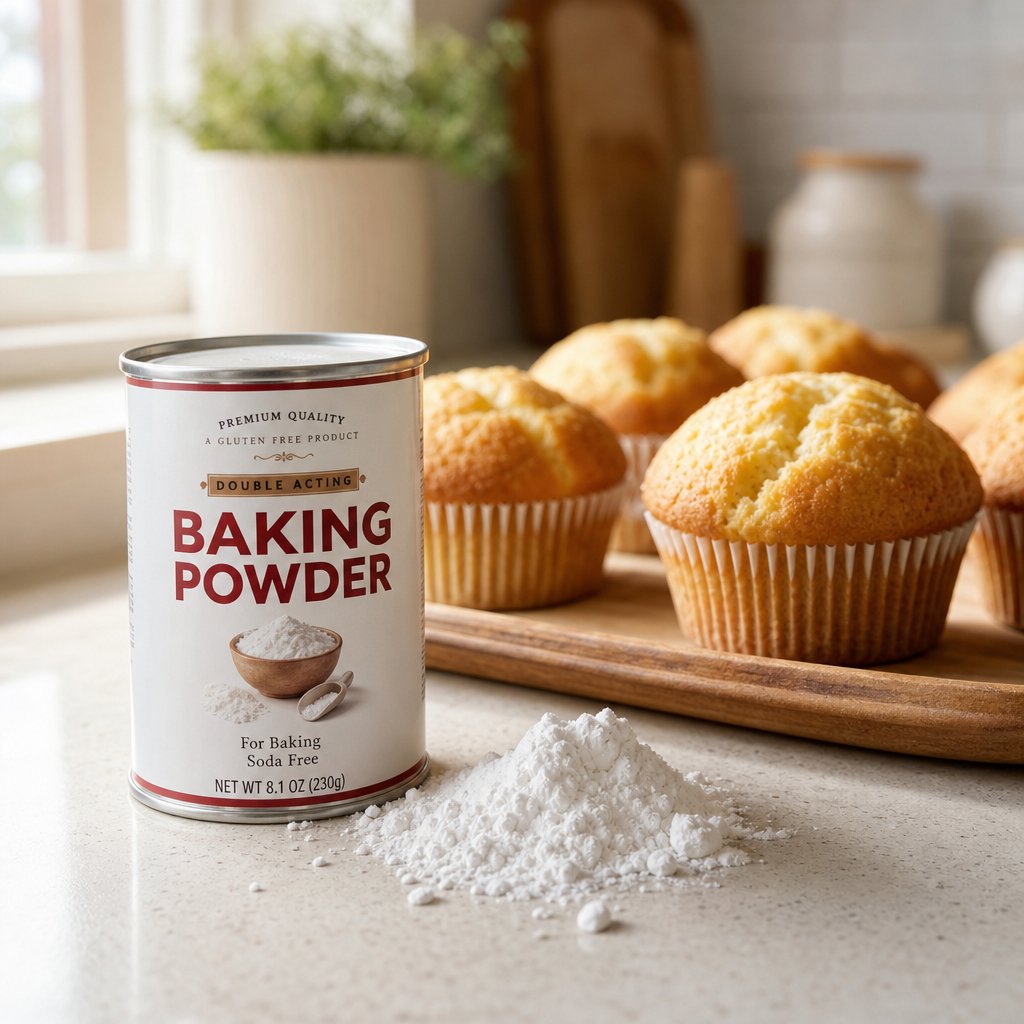

Why Make Your Own Baking Powder at Home
You're halfway through a batch of muffins, hands dusted in flour, and you reach for the baking powder only to find an empty can. Sound familiar? Or maybe you've read the label on your store-bought container and noticed sodium aluminum sulfate listed among the ingredients, and you'd rather skip it entirely. Either way, learning how to make baking powder at home solves both problems in under two minutes with just three pantry staples you likely already own.
When You Run Out Mid-Recipe
Panic is understandable, but it's unnecessary. A reliable baking powder replacement sits right inside your spice cabinet. All you need is baking soda, cream of tartar, and cornstarch. Combine them in the correct ratio, and you have a homemade baking powder that works as a 1:1 swap in virtually any recipe calling for the commercial version. No emergency grocery run required.
Why Some Bakers Choose Homemade Permanently
For some, this isn't about running out. It's a deliberate choice. Commercial double-acting powders often contain additives that can leave a faint metallic aftertaste, particularly noticeable in delicate biscuits and butter cakes. Homemade versions are inherently free of those additives, giving you a cleaner flavor profile. So is there a substitute for baking powder that actually tastes better? In many cases, yes.
Here are the three core benefits of making your own:
- Freshness control - You mix only what you need, so every batch is at peak potency.
- Ingredient transparency - Three recognizable ingredients, nothing else.
- Cost savings - Baking soda and cream of tartar are inexpensive and last a long time in storage.
One thing to keep in mind: homemade baking powder is single-acting, meaning it reacts as soon as it touches liquid. Commercial versions are typically double-acting, producing a second rise when heated in the oven. This distinction matters for timing, and this guide covers exactly how to work with it. You'll learn the science behind the reaction, the precise recipe, how to test potency, proper storage methods, and which baked goods pair best with this alternative for baking powder.
The chemistry driving that rise is simpler than you might expect, and understanding it makes the difference between a fluffy pancake and a flat one.
Step 1: Understand the Science Behind Leavening
Every fluffy muffin, every tender biscuit, every risen pancake owes its texture to a simple chemical reaction happening inside the batter. When you understand what baking powder actually does at a molecular level, you gain the ability to troubleshoot flat bakes, adjust timing, and confidently use your homemade version without second-guessing the results.
The Acid-Base Reaction That Creates Lift
At its core, the relationship between baking powder and baking soda comes down to acid-base chemistry. Baking soda, also called sodium bicarbonate, is an alkaline base. On its own, it just sits there. It needs an acid to spark a reaction. That's where cream of tartar enters the picture.
Cream of tartar, technically potassium bitartrate, is a dry acid. It's a natural byproduct of winemaking, formed as crystals inside wine barrels during fermentation. When you combine baking soda and cream of tartar in the presence of moisture, they react and release carbon dioxide gas. Those tiny CO2 bubbles get trapped in the batter's structure, expanding as the oven heats up, and giving your baked goods their characteristic lift and open crumb.
Baking soda (base) + Cream of tartar (acid) + Moisture = Carbon dioxide gas (lift).
Here's a practical way to visualize it: think about what happens when you mix vinegar and baking powder. You get an immediate, vigorous fizz. That same type of acid-base reaction occurs inside your muffin batter, just in a more controlled way. The baking soda cream of tartar combination produces enough gas to leaven without the dramatic volcano effect because the reaction is distributed evenly throughout the dough.
Why does this matter for your Saturday morning pancakes? Because if either ingredient is stale or the ratio is off, the reaction weakens. Fewer bubbles form, less gas gets trapped, and you end up with dense, flat results. Understanding the chemistry gives you a diagnostic tool: if something goes wrong, you can trace it back to the reaction itself rather than blaming your oven or your mixing technique.
Single-Acting vs Double-Acting Explained
Not all baking powders behave the same way, and this is the most important distinction to grasp before using a homemade version.
Commercial baking powder is typically double-acting. It contains at least two different acids that react at different stages. The first acid activates when it meets liquid during mixing, producing an initial burst of CO2. The second acid, often aluminum-based, only activates when exposed to oven heat. This two-stage process means your batter can sit on the counter for a few minutes without losing all its rising power.
Homemade baking powder is single-acting. It contains only one acid, cream of tartar, which reacts immediately upon contact with moisture. According to Pastry Arts Magazine, a DIY baking powder expands roughly 75% of its leavening power before the item even enters the oven. Once you stir wet ingredients into dry, the clock starts ticking.
What does this mean practically? It means you need to work with a sense of urgency. Preheat your oven before you start mixing. Have your pans greased and ready. The moment your batter comes together, get it into the oven. Hesitate too long, and those CO2 bubbles escape into the air instead of getting locked into your cake's structure.
This isn't a dealbreaker. Bakers used single-acting powders exclusively for decades before double-acting formulas became standard. It simply requires a small shift in workflow: prep everything first, mix last, bake immediately. With that rhythm in place, your homemade powder delivers results that rival any store-bought option.
The reaction itself is straightforward, but the ingredients that drive it each play a specific role worth examining individually.
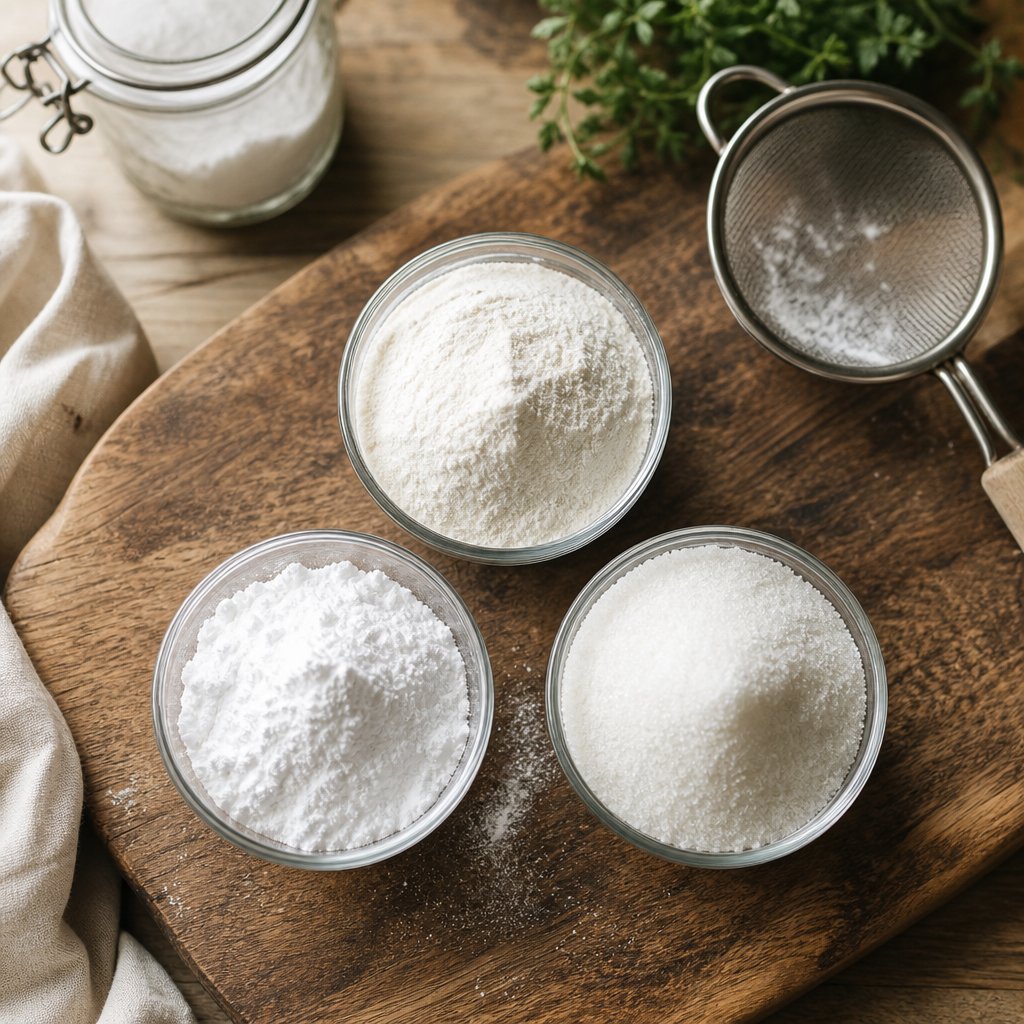
Step 2: Gather Your Three Essential Ingredients
So what is baking powder made of when you skip the commercial brands and build it yourself? Just three ingredients, each with a distinct job. Remove any one of them and the formula either fails to rise or loses potency before you ever open the jar. Here's what is in baking powder and why each component earns its place on the baking powder ingredients list.
Baking Soda as the Alkaline Base
Baking soda, or sodium bicarbonate, is the gas generator. It's a strong alkaline base that sits dormant until it encounters an acid. The moment that contact happens in the presence of moisture, it releases carbon dioxide, the gas responsible for lift in your batter. Without baking soda, there's simply no chemical reaction and no rise. You'll find it in virtually every pantry, and it stays potent for years when stored in a cool, dry spot.
Cream of Tartar as the Dry Acid
Cream of tartar, scientifically known as potassium bitartrate, is the acid half of the equation. It's a natural byproduct of winemaking. During grape fermentation, tartaric acid combines with other substances and forms crystals that cling to the inside of wine barrels. Those crystals are then purified and ground into the fine white powder you buy at the store. When paired with baking soda and liquid, it triggers the acid-base reaction that produces CO2 bubbles. Making baking powder with cream of tartar gives you a clean, aluminum-free leavener with no metallic aftertaste, which is why many bakers prefer it over commercial alternatives.
Why Cornstarch Is Not Optional
Cornstarch might seem like filler, but it performs two critical functions. First, it acts as a moisture buffer, absorbing ambient humidity from the air so the acid and base don't react prematurely inside your storage jar. Second, it dilutes the mixture to standard strength, ensuring your homemade cream of tartar baking powder substitutes 1:1 for store-bought versions without over-leavening your recipes.
Skip the cornstarch and here's what happens: any trace of humidity in your kitchen triggers a slow reaction between the baking soda and cream of tartar. Within days, the powder clumps, loses its fizz, and becomes useless. As Food Network notes, cornstarch is specifically included in baking powder to prevent clumping and to stop the ingredients from reacting in the container before they reach your mixing bowl.
| Ingredient | Role | What Happens Without It |
|---|---|---|
| Baking Soda | Alkaline base that generates CO2 gas | No chemical reaction occurs; batter stays flat |
| Cream of Tartar | Dry acid that triggers the leavening reaction | Baking soda has nothing to react with; no gas produced |
| Cornstarch | Moisture buffer and strength diluter | Premature reaction during storage; powder loses potency within days |
With all three ingredients on your counter, the only thing left is combining them in the right proportions and mixing them thoroughly enough to guarantee an even rise across every square inch of your batter.
Step 3: Mix Your Homemade Baking Powder
Proportions make or break this recipe. A pinch too much baking soda and your muffins taste soapy. Too little cream of tartar and the reaction fizzles out before your batter rises. The good news? The baking powder formula is dead simple to memorize, and once you nail it, you'll never stress about an empty can again.
The Standard Ratio You Need to Remember
Here's the entire recipe for baking powder distilled into one line:
1 part baking soda : 2 parts cream of tartar : 1 part cornstarch.
That's it. A 1:2:1 ratio by volume. The cream of tartar always doubles the baking soda because you need enough acid to fully react with the base. The cornstarch matches the baking soda at a 1:1 proportion, providing just enough buffer to stabilize the mixture without diluting its strength below what recipes expect. This baking powder recipe works as a direct 1:1 substitute for any commercial brand.
Small-Batch Starter Recipe
How do you make baking powder in a practical, usable quantity? Start small. Using baking soda and cream of tartar to make baking powder in a single batch looks like this:
- 1 teaspoon baking soda
- 2 teaspoons cream of tartar
- 1 teaspoon cornstarch
This yields approximately 4 teaspoons of homemade baking powder, equivalent to about 1 tablespoon plus 1 teaspoon. That's enough for a standard batch of biscuits or a dozen muffins. If your recipe calls for 2 teaspoons of baking powder, you'll have enough for two uses with this single mix.
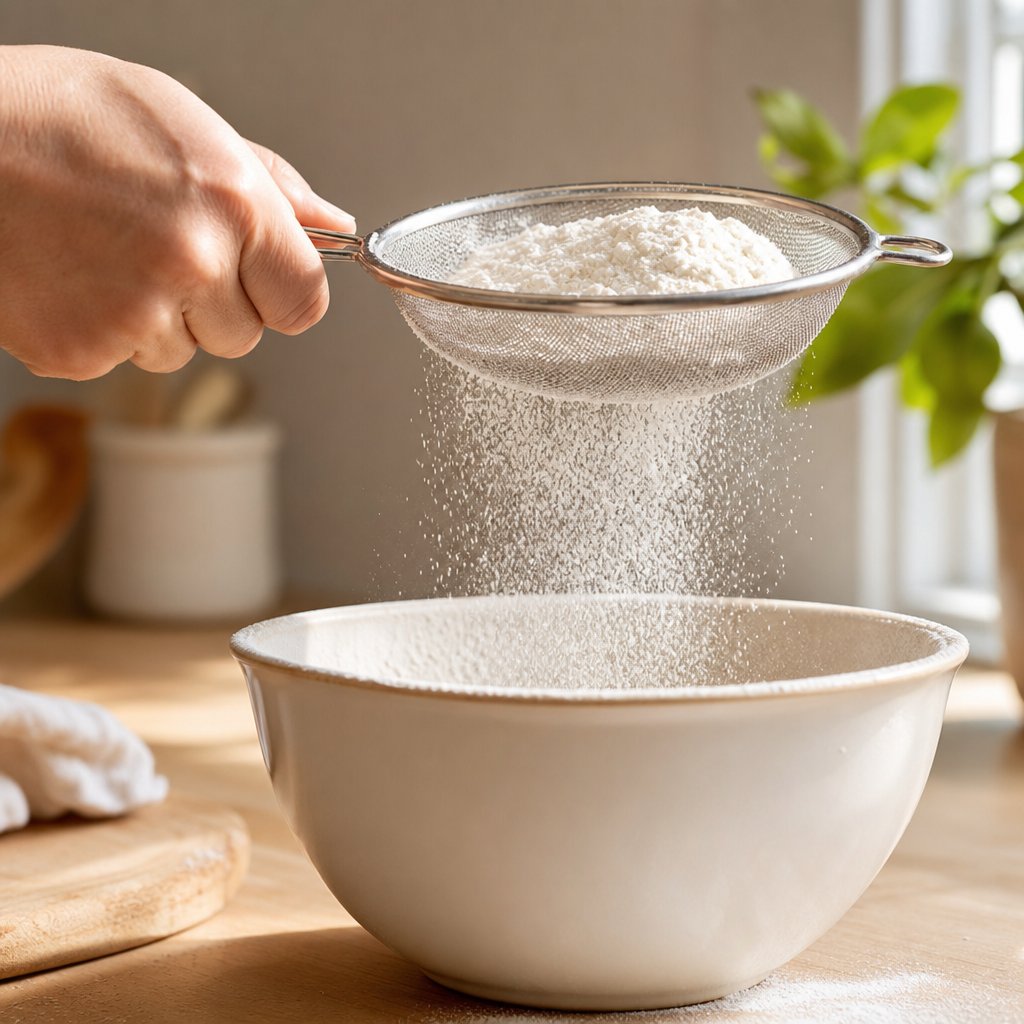
Sifting for Even Distribution
Dumping the three ingredients into a bowl and giving them a quick stir isn't enough. Uneven distribution means some pockets of batter get too much acid, others get too much base, and your baked goods rise unevenly, with dense spots next to airy ones. The fix is sifting.
Pass the combined ingredients through a fine-mesh sieve at least three times. Each pass breaks up clumps and forces the powders to intermingle at a finer level. Baker Odette Williams notes that sifting distributes dry goods more evenly, producing a "sublime" result rather than an inconsistent one. For this DIY baking powder, three passes is the minimum; four or five won't hurt if you want extra insurance.
Follow these steps for a perfectly blended homemade baking powder recipe:
- Confirm all utensils, bowls, and measuring spoons are completely dry. Even a few drops of water will trigger the reaction prematurely and waste your ingredients.
- Measure 1 teaspoon of baking soda and place it into a small, dry bowl.
- Add 2 teaspoons of cream of tartar and 1 teaspoon of cornstarch to the same bowl.
- Whisk briefly with a dry fork to loosely combine.
- Hold a fine-mesh sieve over a second dry bowl and pour the mixture through it. Tap the sieve gently to help the powder pass through.
- Transfer the sifted powder back into the sieve and repeat. Do this at least three times total.
- Use immediately or transfer to an airtight container for short-term storage.
The emphasis on dry equipment isn't fussiness. Remember, this is a single-acting recipe baking powder. Moisture is the trigger. A damp spoon or a bowl still wet from washing activates the acid-base reaction right there on your countertop, burning through leavening power before the mixture ever reaches your batter.
With your freshly sifted powder ready, the natural next question is whether it actually works. A quick potency test takes the guesswork out entirely.
Step 4: Test Potency Before You Bake
You've measured, sifted, and stored your powder in a clean jar. But how do you know it actually works? Trusting a flat cake to answer that question is an expensive experiment. A 30-second fizz test gives you a definitive answer before any batter hits a pan.
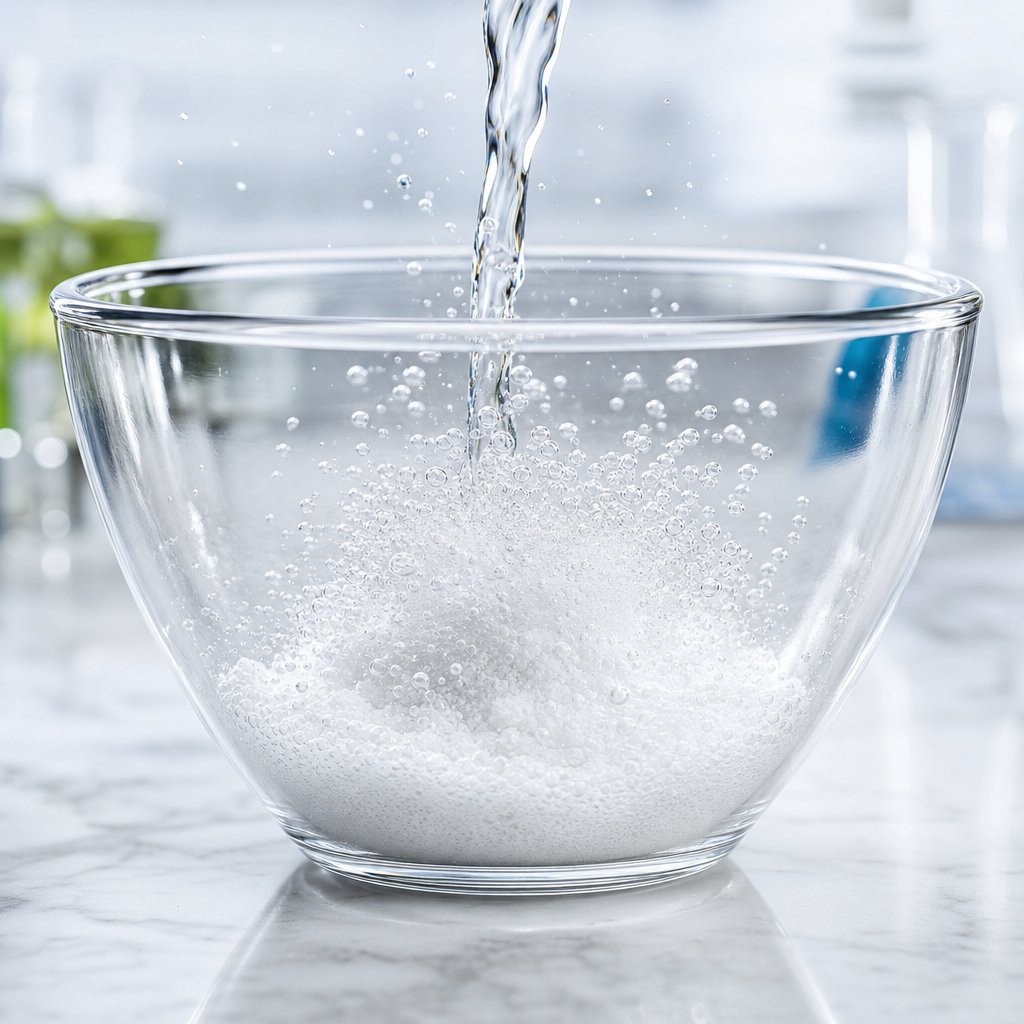
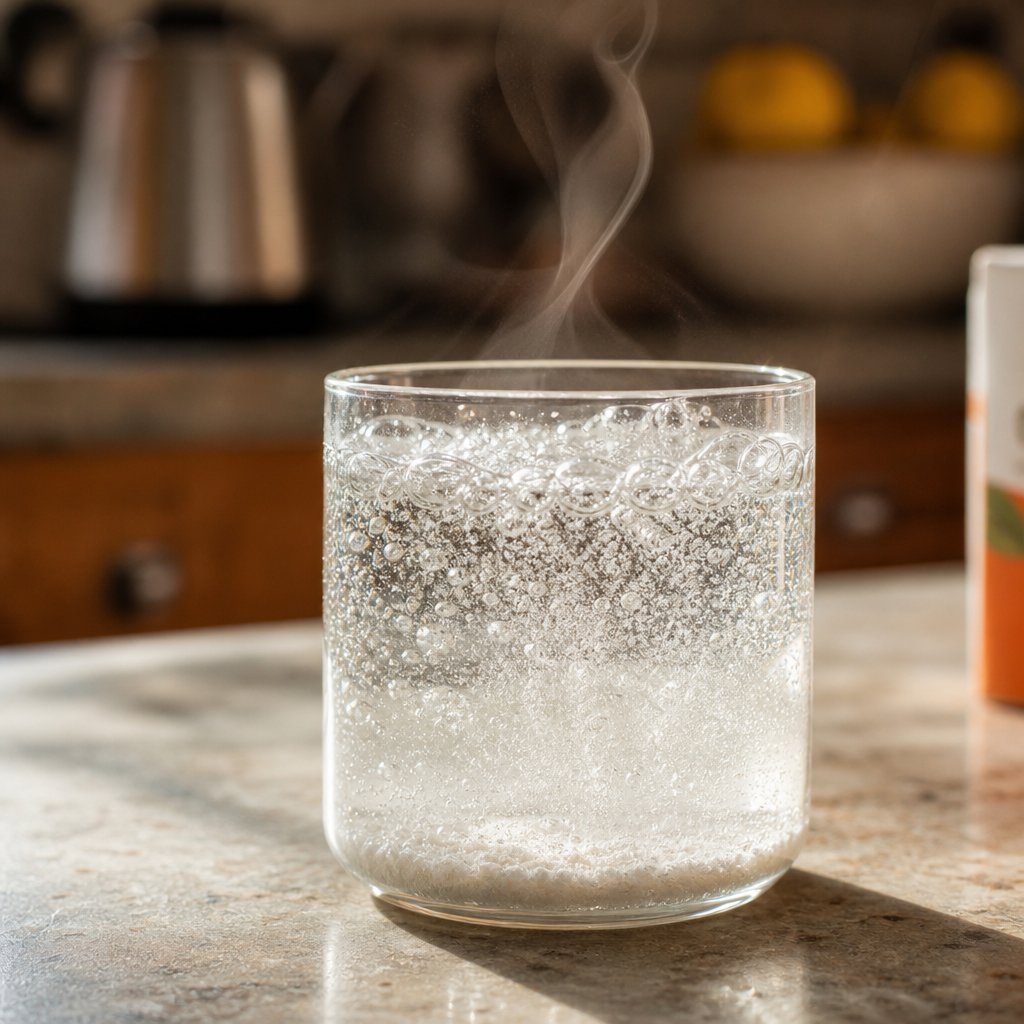
The Hot Water Fizz Test
This test confirms whether your fresh baking powder has enough reactive strength to leaven a recipe. It works for homemade batches and store-bought containers alike, so you can use it to decide whether that dusty can in the back of your pantry still deserves a spot in your next recipe.
- Place 1 teaspoon of baking powder into a small, dry bowl or cup.
- Heat 1/3 cup of water until hot but not boiling. Aim for steaming water, roughly 160-180°F (70-80°C).
- Pour the hot water directly over the powder.
- Watch the surface immediately for bubbling activity.
Active powder reacts within seconds. You'll see a burst of fizzing and foaming that's unmistakable. RecipeTin Eats notes that the bubbles will subside fairly quickly once you stop pouring, so pay attention to that initial reaction rather than waiting for sustained fizzing.
Vigorous, immediate fizzing = active. Slow or no bubbles = replace your ingredients.
What Weak Bubbling Tells You
A faint, lazy fizz doesn't mean your powder is completely dead, but it does signal reduced leavening strength. Serious Eats testing found that even powder passing a basic bubble test can produce baked goods that are noticeably shorter and denser than those made with full-strength leavener. A weak reaction means fewer CO2 bubbles in your batter and less rise in the oven.
The culprit is usually age or moisture exposure. Cream of tartar, while shelf-stable, gradually loses potency after a couple of years or if stored in humid conditions. Baking soda degrades more slowly but still weakens once exposed to air over several months. If your test produces underwhelming results, replace whichever ingredient you suspect is past its prime and make baking powder fresh before proceeding with your recipe.
This test takes seconds but saves hours of frustration. The best baking powder is simply the freshest one, whether store-bought or homemade. Knowing your leavener is active gives you confidence to move on to the next consideration: keeping that potency intact between baking sessions.
Step 5: Store for Maximum Freshness and Shelf Life
Freshly mixed powder won't stay fresh on its own. The same moisture sensitivity that makes it work as a leavener also makes it vulnerable to the ambient humidity in your kitchen. Proper storage is the difference between a jar that performs for weeks and one that fizzles out in days.
Airtight Storage in Glass Containers
Transfer your home made baking powder into a small glass jar with a tight-fitting lid. Glass doesn't absorb odors or moisture the way plastic can, and a secure seal keeps humid air from creeping in. Chef Penny Stankiewicz of the Institute of Culinary Education recommends storing leaveners away from direct sunlight, your oven, and your stove, ideally at a stable temperature around 70°F. Steam from a dishwasher or a pot of boiling pasta counts too. Pick a cabinet that stays cool and dry, away from any heat source. Write the date you made the batch directly on the lid or on a small label so you never have to guess how old it is.
Shelf Life Expectations and Batch Sizing
Here's the key distinction: if you make your own baking powder without cornstarch, it lasts only a few days before the acid and base begin reacting from ambient moisture alone. With cornstarch included as a humidity buffer, the mixture stays effective for several weeks to roughly two months.
Even so, homemade versions don't match the 6-to-18-month shelf life of unopened commercial cans. The practical solution? Mix small batches, enough for one to two weeks of baking at a time. You already know the ratio by heart, and making your own baking powder takes under two minutes. There's no reason to stockpile large quantities that slowly lose potency on the shelf.
Humidity and Altitude Considerations
If you live in a high-humidity climate, such as coastal or tropical regions, moisture infiltrates containers faster than you might expect. Consider making even smaller batches, enough for a single recipe or a few days at most. Placing a food-safe desiccant packet near the jar (not inside it, to avoid direct contact with the powder) helps absorb excess moisture in the surrounding cabinet space.
Altitude introduces a related challenge. At higher elevations, lower air pressure means CO2 bubbles expand more aggressively. Batters rise faster and can collapse if over-leavened. When making your own baking powder at home above 3,500 feet, you may find that slightly reducing the amount used per recipe produces better results. Store the same way, but be mindful that the powder's full strength might actually be too much for your altitude.
With storage handled, the next practical question is scale. A single 4-teaspoon batch works for one recipe, but what if you're baking all weekend or need to convert between baking soda and baking powder measurements on the fly?
Step 6: Scale Batches and Convert Substitution Ratios
A 4-teaspoon batch covers a single recipe, but what about a weekend baking marathon or prepping enough to last two weeks? The 1:2:1 ratio scales up cleanly, and once you see the math laid out, you'll be able to multiply on the fly without pulling out a calculator. Equally useful: knowing how to convert between baking soda and baking powder when a recipe calls for one and you only have the other.
Scaling the Ratio for Larger Batches
The formula stays the same regardless of batch size: 1 part baking soda, 2 parts cream of tartar, 1 part cornstarch. Double it, triple it, or scale it to fill a quarter-cup jar. The chemistry doesn't change. Just keep your measuring spoons dry and sift the larger batch an extra time or two to ensure even distribution throughout.
Here's a quick-reference table for the most common batch sizes:
| Batch Size | Baking Soda | Cream of Tartar | Cornstarch | Total Yield |
|---|---|---|---|---|
| Small | 1 teaspoon | 2 teaspoons | 1 teaspoon | 4 teaspoons (1 tbsp + 1 tsp) |
| Medium | 1 tablespoon | 2 tablespoons | 1 tablespoon | 4 tablespoons (1/4 cup) |
| Large | 2 tablespoons | 4 tablespoons | 2 tablespoons | 8 tablespoons (1/2 cup) |
The medium batch, yielding 1/4 cup, is a sweet spot for most home bakers. It provides enough for several recipes over a week or two without sitting around long enough to lose potency. The large batch makes sense only if you're baking daily or prepping for a holiday stretch where multiple pies, cakes, and quick breads are on the schedule.
Homemade-to-Commercial Substitution Rates
Good news here: your homemade baking powder substitutes at a straight 1:1 ratio for commercial baking powder in most recipes. If a muffin recipe calls for 2 teaspoons of baking powder, use 2 teaspoons of your homemade blend. The cornstarch in your mix already dilutes the active ingredients to standard commercial strength, so no additional math is needed.
The one caveat involves timing. Commercial double-acting powder gives you a buffer because it reacts twice, once when wet and again when heated. Your single-acting version releases all its gas upfront. The substitution amount stays the same, but your workflow needs to stay brisk. Mix, pour, bake. That's the rhythm.
For readers who prefer weighing ingredients with a kitchen scale, King Arthur Baking's ingredient weight chart lists 1 teaspoon baking powder in grams at approximately 4 grams. Scaling up, 1 tablespoon baking powder in grams comes to roughly 12 grams. These weights apply to both commercial and homemade versions since the bulk density is similar. Using a scale eliminates the slight variability that comes from how loosely or tightly you scoop a teaspoon.
Baking Soda to Baking Powder Conversion
Sometimes you encounter the opposite problem: a recipe calls for baking soda, but you only have baking powder on hand, or vice versa. Understanding the baking powder to baking soda conversion helps you adapt without ruining the chemistry of your batter.
The general rule for baking powder to soda conversion: 1 teaspoon of baking soda provides roughly the same leavening power as 3 teaspoons (1 tablespoon) of baking powder. Baking soda is about three times stronger because it's pure base, while baking powder dilutes that base with acid and starch.
However, this isn't always a clean swap. Here's why:
- Flavor impact - Using 3 teaspoons of baking powder to replace 1 teaspoon of baking soda can introduce a slightly bitter, chemical taste from the larger volume of powder.
- Acid balance - Recipes calling for baking soda typically include an acidic ingredient like buttermilk, yogurt, or brown sugar. If you swap in baking powder instead, that acid has nothing to neutralize it, potentially leaving a tangy or sour note.
- Texture differences - Baking soda promotes spread and browning in cookies. Baking powder promotes puff and height. Swapping one for the other changes the final texture even if the rise is similar.
The practical takeaway: use the baking soda to powder conversion as a rescue strategy when you're mid-recipe and out of options, not as a permanent substitution. If you know how to make baking powder from baking soda using the 1:2:1 formula, you can always create exactly what the recipe needs rather than relying on imperfect swaps.
For quick reference, 1 tsp baking powder in grams weighs about 4 to 5 grams on a digital scale. If you're halving or doubling recipes and want precision, weighing removes the guesswork entirely. This is especially helpful for bakers who scale recipes frequently or work with metric measurements from international cookbooks.
Knowing how much to use is half the equation. The other half is knowing which recipes play nicely with your single-acting homemade powder and which ones demand the double-acting commercial version.

Step 7: Match Your Powder to the Right Recipes
Your homemade powder works brilliantly in some baking powder recipes and falls short in others. The difference comes down to one variable: how quickly the batter moves from mixing bowl to hot oven. Single-acting leavener releases all its CO2 the moment liquid hits the dry ingredients. Recipes designed for immediate baking capture every last bubble. Recipes that sit, rest, or get assembled in stages lose that gas before heat can lock it into the crumb structure.
Recipes That Work Perfectly with Single-Acting Powder
Imagine mixing pancake batter on a Saturday morning, ladling it straight onto a hot griddle. That's the ideal scenario for homemade baking powder. The batter forms, the acid-base reaction fires, and heat sets the structure within minutes. No gas escapes. You get tall, fluffy results every time.
The same logic applies to any recipe with baking soda or baking powder where the workflow is mix-and-bake. Baking recipes with cream of tartar-based leavening shine when there's zero downtime between combining wet and dry ingredients and getting the pan into the oven. Pancakes, waffles, drop biscuits, muffins, scones, quick breads like banana or zucchini bread, cornbread, and simple coffee cakes all fall into this category. These are recipes that call for baking soda or baking powder and involve minimal handling after the leavener activates.
What does baking powder do in a recipe like a basic buttermilk biscuit? It creates the pockets of air that separate those flaky layers. Because biscuit dough goes from mixing to a hot oven in under five minutes, single-acting powder has more than enough time to do its job. The general guideline of how much baking powder per cup of flour, typically 1 to 1.5 teaspoons, holds true for your homemade version just as it does for commercial brands.
When You Might Still Need Commercial Double-Acting Powder
Certain baking soda food recipes and baking powder recipes demand flexibility that single-acting leavener can't provide. King Arthur Baking's testing found that cake batter leavened with baking soda alone lost about 14% of its rise after just one hour at room temperature. Double-acting powder fared better because its second acid only activates with oven heat, preserving leavening power during delays.
Recipes where homemade powder may underperform include:
- Multi-layer cakes baked one pan at a time, where later batches of batter sit while earlier ones bake
- Batters with long rest periods, such as overnight refrigerator pancakes or make-ahead waffle batter
- Complex recipes requiring assembly steps between mixing and baking, like filled coffee cakes or layered sheet pan desserts
- Any recipe with baking soda as the sole leavener that specifically instructs you to rest the dough
The Bake School explains that bakeries favor double-acting powder precisely because it lets them mix batter one day and bake it the next without losing potency. For home bakers juggling a single oven and multiple pans, that same flexibility matters.
Timing Tips for Best Rise
If you want to use your homemade powder in a recipe that normally calls for double-acting, you can still get good results with a few workflow adjustments:
- Preheat your oven fully before you start mixing wet and dry ingredients together.
- Grease pans, line them with parchment, and position oven racks before the batter exists.
- Combine wet and dry ingredients as the last step, then immediately portion into pans and bake.
- If baking multiple pans in sequence, mix only enough batter for one pan at a time, keeping remaining dry and wet ingredients separate until you're ready for the next round.
For a recipe with baking soda that also includes an acidic ingredient like buttermilk or yogurt, the urgency doubles. Both the homemade powder and the acid-soda reaction in the batter itself are single-acting, so every second of delay costs you bubbles.
| Recipe Type | Compatibility | Notes |
|---|---|---|
| Pancakes and waffles | Excellent | Batter hits heat within seconds of mixing |
| Muffins and scones | Excellent | Short mixing time, immediate baking |
| Drop biscuits | Excellent | No resting or rolling required |
| Quick breads (banana, zucchini) | Excellent | Mix and pour directly into loaf pan |
| Simple single-layer cakes | Good | Bake immediately after mixing for best rise |
| Multi-layer cakes (one pan at a time) | Fair | Later batches lose gas while waiting; mix in stages if possible |
| Refrigerated or rested batters | Poor | Gas releases during rest; use double-acting powder instead |
| Complex assembled desserts | Poor | Assembly time allows CO2 to escape before baking |
The pattern is clear: speed is your ally. Any recipe where the path from mixing bowl to oven takes under five minutes is a perfect candidate for homemade single-acting powder. Anything requiring patience or staging benefits from the commercial double-acting version.
Of course, not every baker can use the standard cornstarch-based formula. Corn allergies, dietary preferences, and a desire for fully aluminum-free options open the door to variations that swap the starch component entirely.
Step 8: Try Corn-Free Variations and Custom Alternatives
Corn allergies, grain-free diets, and paleo lifestyles all share one common obstacle: standard baking powder contains cornstarch. If that's a dealbreaker for you, the fix is simple. Swap the cornstarch for another starch that performs the same moisture-buffering role, and you have a fully corn-free baking powder alternative that works identically in every recipe.
Corn-Free Variations with Arrowroot or Tapioca Starch
So what can be used in place of baking powder's cornstarch component? Several grain-free starches absorb humidity and prevent premature activation just as effectively. The ratio stays the same: 1 part baking soda, 2 parts cream of tartar, 1 part starch. Only the starch type changes.
Here are your best options:
- Arrowroot powder - The most popular baking powder substitute arrowroot option. It's flavorless, dissolves cleanly, and functions as an identical moisture buffer to cornstarch. Delightful Mom Food recommends arrowroot as the preferred starch for paleo baking powder, noting it produces consistently better results than other alternatives.
- Tapioca starch - Extracted from cassava root, tapioca starch works at the same 1:1 ratio. It's slightly more absorbent than arrowroot, which can be an advantage in humid kitchens. Laura Fuentes lists it alongside arrowroot and potato starch as a reliable corn-free option for homemade baking powder.
- Potato starch - Another grain-free choice that absorbs moisture effectively. It has a slightly heavier texture than arrowroot but performs well in the 1:2:1 formula. Best suited for heartier baked goods like scones and quick breads.
Each of these starches creates a legitimate replacement for baking powder's cornstarch without altering the acid-base chemistry. You're still making baking powder from cream of tartar and baking soda. The starch simply keeps those two reactive ingredients from firing prematurely in storage. If you want to learn how to make your own baking powder that fits a paleo or grain-free lifestyle, any of these three options delivers identical leavening performance.
Why Homemade Is Always Aluminum-Free
Ever bitten into a muffin and noticed a faint metallic aftertaste? That's often sodium aluminum sulfate, a slow-acting acid used in many commercial double-acting powders. It provides the second rise during baking, but some people find the taste off-putting, and others prefer to avoid aluminum-based additives entirely.
When you use a baking powder substitute cream of tartar recipe, aluminum never enters the equation. Cream of tartar is a naturally derived acid from winemaking. Baking soda is pure sodium bicarbonate. Your chosen starch is a plant extract. No aluminum compounds are involved at any stage. This is one of the strongest arguments for making your own permanently, not just as an emergency fix. Every batch is inherently clean-label, with three recognizable ingredients and nothing else.
From Kitchen Experiments to Custom Formulations at Scale
Mixing your own leavener at home is satisfying, and for many readers that's exactly where the journey ends: a small jar in the pantry, refreshed every couple of weeks. But some people take the concept further. Entrepreneurs developing nutrition bars, functional drink mixes, or supplement powders face the same fundamental challenge at a larger scale: blending dry ingredients in precise ratios to achieve a specific result.
If your interest in custom powder formulations extends beyond the kitchen, perhaps you're building a health food brand or launching a private-label supplement line, professional OEM/ODM manufacturers specialize in exactly this kind of work. Companies like ZhuFeng offer customized formulation and scalable production for health-focused powder and granule products, along with other formats like capsules, tablets, gummies, and oral liquids. For nutrition brands, supplement importers, or functional food businesses looking to move from prototype to market-ready product, that kind of manufacturing partner handles the precision blending, quality control, and packaging at volumes a kitchen simply can't match.
Whether you're whisking together four teaspoons of homemade leavener or developing a commercial product line, the principle remains the same: the right ingredients, in the right ratio, blended with care. At the kitchen scale, you now have every tool you need to make baking powder that's fresh, corn-free, aluminum-free, and perfectly suited to your dietary needs.
Frequently Asked Questions About Homemade Baking Powder
1. Can I use homemade baking powder as a 1:1 substitute for store-bought?
Yes, homemade baking powder made with the 1:2:1 ratio of baking soda, cream of tartar, and cornstarch substitutes at a direct 1:1 ratio for commercial baking powder. The cornstarch dilutes the active ingredients to match standard commercial strength. The only difference is timing: homemade versions are single-acting, so you need to get your batter into the oven immediately after mixing to capture all the CO2 bubbles before they escape.
2. How long does homemade baking powder last?
Homemade baking powder with cornstarch stays effective for several weeks up to roughly two months when stored in an airtight glass jar in a cool, dry cabinet. Without cornstarch, it loses potency within just a few days because ambient moisture triggers the acid-base reaction prematurely. For best results, mix small batches every one to two weeks and always label the jar with the date you made it.
3. What is the difference between single-acting and double-acting baking powder?
Single-acting baking powder, which is what you get when making it at home, contains one acid that reacts immediately when it contacts liquid. It releases all its leavening gas at once during mixing. Double-acting commercial powder contains two acids: one that reacts when wet and a second that only activates with oven heat. This gives commercial powder a built-in buffer, allowing batter to sit briefly without losing rise. For recipes baked immediately after mixing, single-acting works just as well.
4. What can I use instead of cornstarch in homemade baking powder?
Arrowroot powder, tapioca starch, and potato starch all work as corn-free alternatives at the same 1:1 ratio. Arrowroot is the most popular choice for paleo and grain-free bakers because it is flavorless and dissolves cleanly. Tapioca starch is slightly more absorbent, making it useful in humid kitchens. Potato starch has a heavier texture suited to heartier baked goods. All three perform the same moisture-buffering function that prevents premature activation during storage.
5. How do I test if my baking powder is still active?
Place one teaspoon of baking powder into a small dry bowl and pour one-third cup of hot water (around 160-180 degrees Fahrenheit) over it. Active powder produces vigorous, immediate fizzing and foaming within seconds. If you see only slow, weak bubbles or no reaction at all, the ingredients have lost potency and need replacing. This test works for both homemade and store-bought baking powder and takes less than 30 seconds to confirm whether your leavener will deliver a proper rise.